Consultation Hotline
+1 (302) 618-8777
+1 (302) 618-8777
The headspace sampler is a key sample introduction device in gas chromatography (GC) systems, widely used in pharmaceutical analysis, environmental testing, food safety, and chemical research. It is particularly effective for volatile and semi-volatile compounds. However, due to repeated exposure to complex matrices, high temperatures, and carrier gases, contamination and residue buildup are inevitable over time. Regular and proper cleaning of the headspace sampler is essential to ensure accurate injection performance, stable baseline, and reproducible results.
Before starting the cleaning process, the instrument must be safely shut down. Turn off the heating system, carrier gas supply, and power. Allow the system to cool naturally to room temperature to avoid burns or thermal damage.
Next, prepare necessary tools and materials, including:
Lint-free wipes
High-purity methanol or isopropanol
Ultrapure water
Neutral detergent (if needed)
Nitrogen or clean compressed air
Small brushes and soft swabs
Ensure the working area is clean and free of dust to prevent secondary contamination during disassembly.
Begin with the external housing of the headspace sampler. Use a lint-free cloth slightly dampened with ethanol or isopropanol to wipe down the surface. Focus on areas around the sample tray, injection port, and control interface where dust or chemical residues may accumulate.
Avoid excessive liquid, as solvent entering internal electronic components may cause damage. Do not use corrosive cleaners or strong alkaline solutions on external surfaces.
Remove the sample tray carefully according to the manufacturer’s instructions. Inspect for any broken vials, glass fragments, or spilled residues.
Clean the tray using mild detergent solution followed by thorough rinsing with ultrapure water. If contamination is severe, soak the tray in 70% ethanol for 10–15 minutes before rinsing.
Dry the tray completely using clean compressed air or allow it to air dry in a dust-free environment before reinstallation. Ensure no moisture remains, as it may affect temperature control and vial stability during operation.
The transfer line and injection needle are critical components that directly influence sample introduction accuracy. Over time, they may accumulate residue from volatile compounds, especially in high-concentration or complex samples.
First, remove the needle assembly carefully. Soak it in a mixture of methanol and ultrapure water (commonly 1:1 ratio) for 15–30 minutes. For stubborn contamination, ultrasonic cleaning can be applied for 5–10 minutes.
After soaking, flush the needle internally using a clean syringe filled with solvent to remove internal deposits. Finally, dry it thoroughly using nitrogen gas to prevent solvent residue.
The transfer line should be checked for blockages or discoloration. If contamination is suspected, purge the line with carrier gas at elevated temperature (within safe operational limits) to volatilize and remove residues.
The valve system is one of the most sensitive parts of the headspace sampler. Contamination here can lead to carryover, ghost peaks, or unstable injection volumes.
If the system design allows disassembly, carefully remove the valve and soak it in appropriate solvent (methanol or acetone depending on sample type). Avoid aggressive mechanical cleaning, as precision valve components can be easily damaged.
After soaking, gently rinse with solvent and dry with clean nitrogen. Reinstall only after ensuring complete dryness and correct alignment.
The heating block and incubation chamber are responsible for equilibrating samples before injection. Residues from vial leakage or volatilized compounds may accumulate on chamber surfaces.
Use a soft cloth lightly dampened with ethanol to wipe internal surfaces. Avoid scratching or damaging the heating elements. Ensure that no liquid enters electrical connectors or temperature sensors.
If odor or contamination persists, perform a high-temperature bake-out cycle (as recommended by the manufacturer) to volatilize residual compounds.
After all components are cleaned and dried, carefully reassemble the system in reverse order. Ensure all seals, fittings, and connectors are securely tightened.
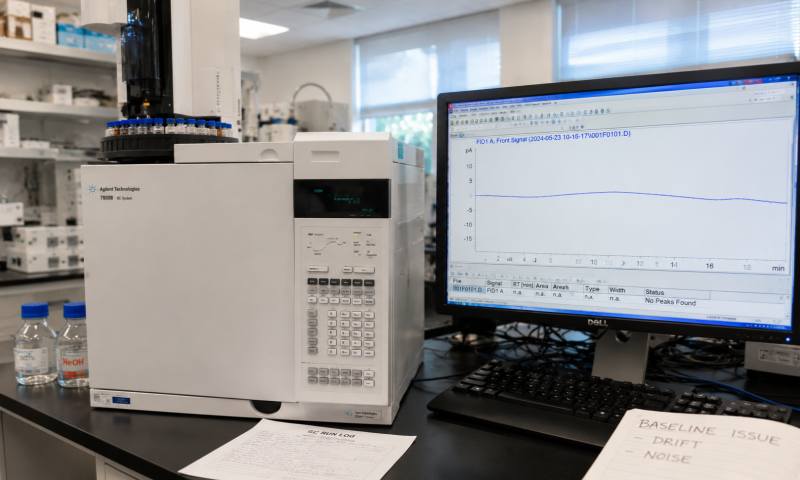
Before resuming analytical work, perform a leak test using carrier gas. Check for pressure stability and ensure there are no abnormal fluctuations. Run a blank injection to verify baseline stability and absence of carryover.
To minimize contamination and reduce cleaning frequency, the following practices are recommended:
Use high-purity vials and septa to reduce sample leakage
Avoid overfilling sample vials
Regularly replace septa and syringe needles
Perform routine bake-out cycles after high-load analysis
Use clean carrier gas with proper filtration
Implement scheduled maintenance cleaning even if no visible issues occur
Cleaning a gas chromatography headspace sampler requires systematic attention to each component, including the sample tray, injection needle, transfer line, valve system, and heating chamber. Proper cleaning not only removes contamination but also ensures consistent injection performance and analytical accuracy. By following a structured maintenance procedure and adopting preventive practices, laboratories can significantly extend instrument lifespan, reduce downtime, and maintain high-quality chromatographic results over long-term operation.